1) Installation #
a)Using the WordPress Administration Panel
You can download Plugins directly to your blog by using the Add New Plugins option in the Plugins sub-menu.
- Log in to the WordPress Administration Panel
- Go to "Plugins => Add New"
- Search for To Top by catchthemes
- Click on "Install Now" install and then "Activate" to activate the Plugin
b)Manual Installation using FTP
To add a new Plugin to your WordPress installation, follow these basic steps:
- Download To Top from WordPress.org at To Top page to your Desktop
- Unzip to-top.zip to your Desktop
- Using an FTP client to access your host web server. Go to /wp-content/plugins/ and make sure that you do not already have a to-top folder installed. If you do, then back it up and remove it from /wp-content/plugins/ before uploading your copy of To Top
- Upload To Top to /wp-content/plugins/
- Activate To Top through "Plugins", in your WordPress Dashboard
Updating Plugin Using the Administration Panel #
You can update Themes directly from the Administration Panel by simply pressing the update button in the main plugins page.
Updating Plugins Using FTP
To update Plugin though FTP, follow these basic steps:
- Download To Top from WordPress.org at To Top page to your Desktop
- Unzip to-top.zip to your Desktop
- Using an FTP client to access your host web server, go to /wp-content/plugin/ and upload your new copy of To Top Plugin which shall replace the old files
Configurations
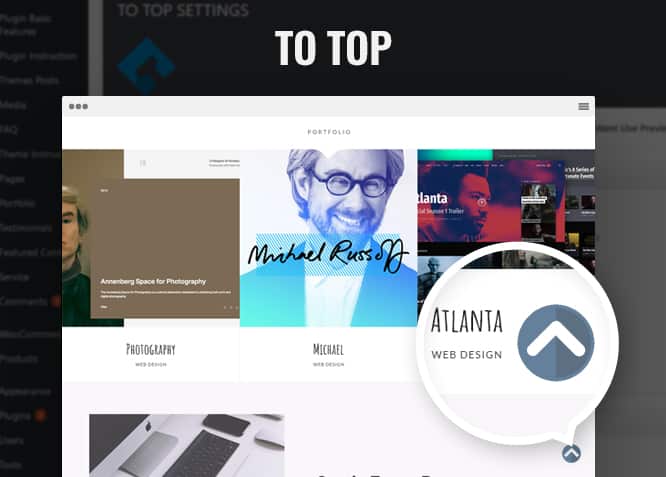
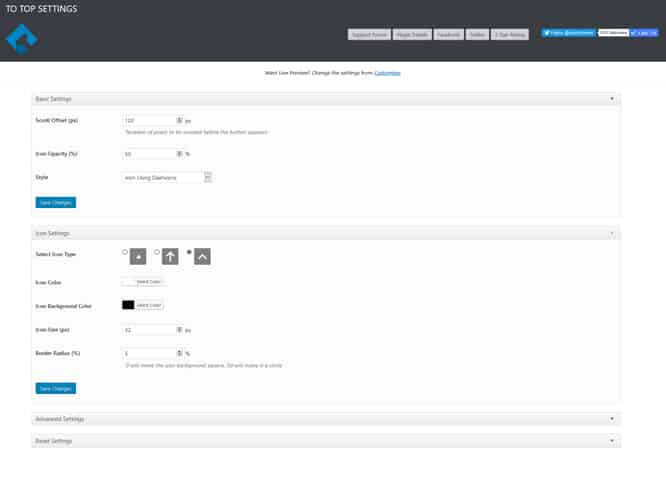
To Top button is easy to customize, providing several controls and a live preview area to get immediate visual feedback to any changes in the setting. When you have created a button that fits your website, simply click the Save Changes button.
Under Basic Settings:
Scroll Offset: Number of pixels to be scrolled before the button appears.
Icon Opacity: Choose the degree of transparency to which the To Top button appears.
Style: Choose from either an icon or an image for the button.
Under Icon Settings (Appears if you choose an icon for the To Top button):
Select Icon Type: Choose from 3 default icon types. (The numbers may increase with updates).
Icon Color: A color palette to choose the color of your icon.
Icon Background Color: A color palette to choose the color for the background of your icon.
Icon Size (px): Scale the pixel of the icon and set it to your desired size.
Border Radius (%): Possible value range is 0 to 50. 0 will make the icon background square and 50 will make it a cir
Under Image Settings (Appears if you choose to set an image for the button):
Image: You can choose an image by clicking the Change Image button and selecting an image from your media library or upload an image.
Image Width (px): Set desired image width for the button.
Image Alt:In simple terms, Image Alternative Text is a word or a phrase that appears in a blank box that would normally contain the image. Image Alt is useful when an image link is not available because of a broken or changed URL or similar issues.
Under Advanced Settings:
Location: Choose from 4 different locations for the button.
i. Bottom Right
ii. Bottom Left
iii. Top Right
iv. Top Left
Margin X & Y (px): If the above mentioned locations do not fit the location you want, you can set these two parameters and place the button anywhere on the screen.
Show on WP-ADMIN? : If you check the Check to Enable, the button will be shown on admin section as well.
Enable Auto Hide: If you want the button to hide automatically, simple check the Check to Enable.
Auto Hide Time (secs): The button will be hidden automatically after this duration in seconds, if enabled.
Hide on Small Devices? : Enabling this feature will hide the button on small devices when the width below matches.
Small Device Max Width (px): Button will be hidden on devices with lesser or equal to the width you set here.
Under Reset Settings:
Reset All Settings: Checking this option will revert all the changes you made to default settings. All data will be lost.
Note: Make sure you click Save Changes to save any modifications you have made.

